
Deena and I were talking about our Spring home decor the other day and she asked me to do a blog post on my spring eggs. So here ya go, Deena!
This idea came about when Deena told me about her Easter eggs. They are wooden eggs that she painted. I thought that could make a cute addition to my Easter decor (of which I had none!). Two problems arose:


This idea came about when Deena told me about her Easter eggs. They are wooden eggs that she painted. I thought that could make a cute addition to my Easter decor (of which I had none!). Two problems arose:
- I didn't know where to find wooden eggs
- If I did find them, they would probably be somewhat expensive
This is what I came up with:

Supplies and Cost:
- Plastic Easter eggs (Kmart, $.75)
- Acrylic Paint (Walmart, $.50 ea)
- Soft Paint Brush (Walmart, assorted package of 12, $3.00)
- Aleene's Tacky Glue (or finishing spray) (Walmart, $2.00)
- Scissors
- Old Toothbrush
Luckily I had everything on hand except the eggs and paint. On this project, I spent $3.75.
Directions:
Break your eggs apart. Most are connected by a little piece of plastic.

Use a pair of scissors to cut the residual connector off. If you can't get close enough, you may need to use an exacto knife.

Next you'll need to prepare to paint. The paint brush you choose is EXTREMELY important. You want a soft brush with long bristles. If your brush is too hard, you'll scrape the paint each time you paint a new layer on. See photos below.
 |
| If your brush is soft, you'll be able to bend the bristles all the way back with no resistance. |
 |
| If your bristles are hard, your bristles won't bend back far and there will be a lot (or some) resistance. |
Ok, now paint! The first layer will be very thin. The 2nd and 3rd layers of paint will go on pretty thick. I made sure my paint brush was moist with a little water so that the paint would spread a little easier. Whatever you do, make sure your paint dries completely between layers or you risk destroying the previous layer.
 |
| This photo shows an egg after 2 layers of paint. As you can see, it's not quite opaque yet. |
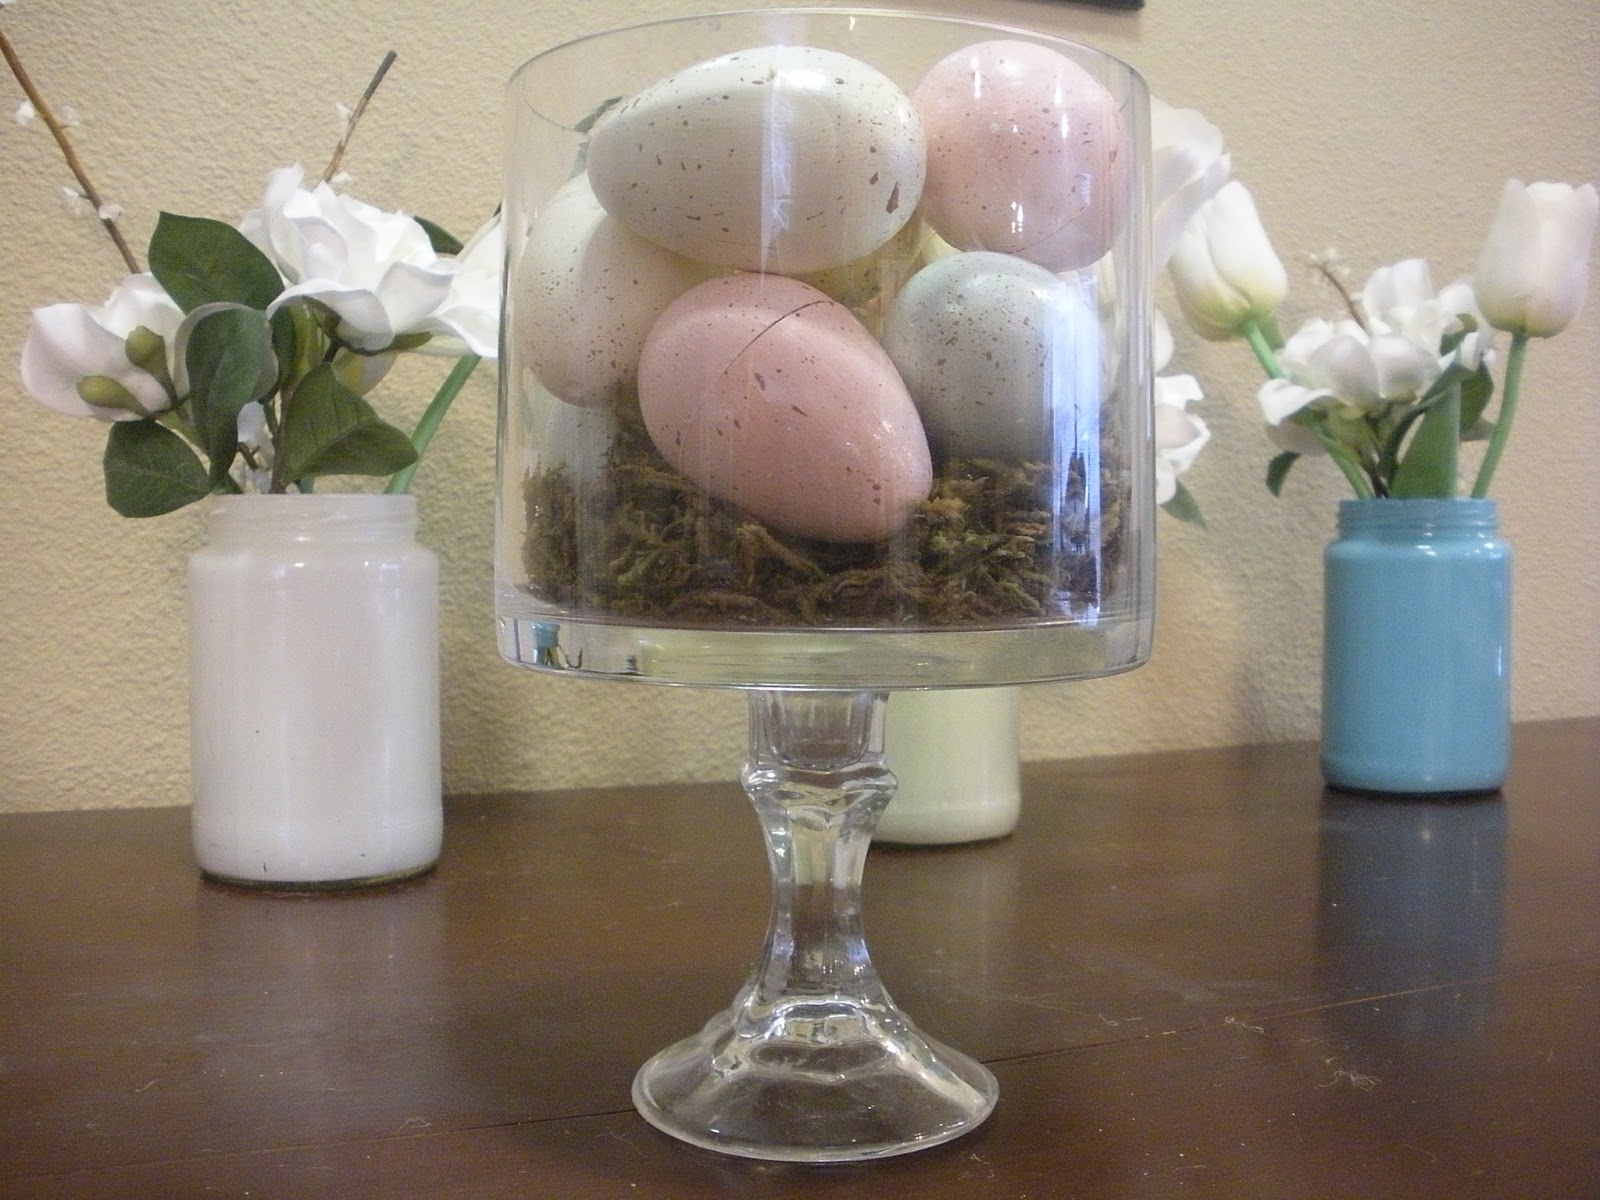
Next step is to spatter. Grab your tooth brush, dip it in white paint, and run your finger back and forth over the bristles so that paint splatters all over your eggs. After the white dries, do the same with brown paint. This will give the eggs a natural, robin's egg sort of look.

Now you're going to have to seal your paint job. If you don't, the paint scratches off pretty easily. I've tried a finishing spray but it wasn't my favorite method. It got everywhere and took several coats. I would suggest brushing on a thin veil of Mod Podge. When I made my eggs, I didn't have Mod Podge, and I couldn't find my finishing spray. I did however, have some Aleene's Tacky glue on hand. It's pretty thick but it dries clear. All you have to do it water it down until it's thin enough to paint on your eggs and then just let it dry. Works like a charm!
And the finished product:


Those are super cute! Love!
ReplyDeleteThose are gorgeous, I see you have your mom's talent!
ReplyDeleteYes...she's the one that taught me how to "spatter", lol! (among other things) :)
Delete